|
|
1 year ago | |
|---|---|---|
| .. | ||
| images | 1 year ago | |
| README.md | 1 year ago | |
| media_mantisbt.yaml | 1 year ago | |
README.md
Mantis Bug Tracker webhook
This guide describes how to integrate your Zabbix installation with MantisBT issues using Zabbix webhook feature. This guide will provide instructions on setting up a media type, a user and an action in Zabbix.
In MantisBT
1. Create or use an existing project for creating issues.
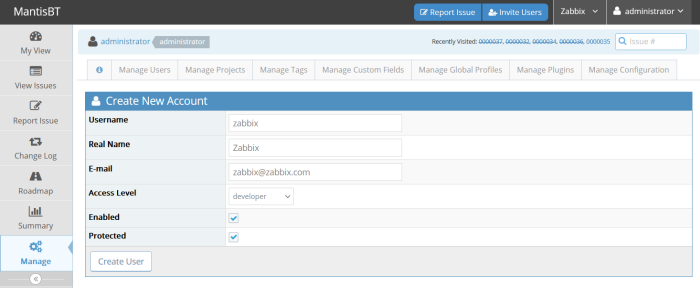
2. Create or use an existing user in MantisBT with the permission to create issues in the desired project. You can check the instruction how to do it.
3. Create an access token according to the original instruction.
4. Copy the access token to use it in Zabbix.
In Zabbix
MantisBT media type must be configured in Zabbix, which will invoke the webhook to send alerts to MantisBT issues through MantisBT Rest API.
1. Import MantisBT media type from media_mantisbt.yaml file.
2. Change values of the following parameters in the imported media:
- mantisbt_category - category of the issues to be created. Default value: "[All Projects] General"
- mantisbt_token - MantisBT access token
- mantisbt_url - MantisBT URL address
- mantisbt_use_zabbix_tags - true|false - whether Zabbix tags should be assigned to the issues. Default value: "true"
3. Create a user and add MantisBT media type to it. Use your MantisBT project name in the "Send to" field.
4. Set up a global macro {$ZABBIX.URL} with the current Zabbix URL. Please note that HTTPS will be used by default if HTTP/HTTPS schema is not present in the URL.
For more information, please see Zabbix and MantisBT documentation.
Supported Versions
Zabbix 7.0, MantisBT 2.22


